
Chess Set
A BF-II … WITH A TWIST, PLEASE!
This month I thought I’d take you through the process of stripping down a set (and we’ve all seen them) that are virtually unplayable. A prime example being this deep purple vs. black Botvinnik-Flohr set that made a brief appearance in our May Chessay, TO STRIP, OR NOT TO STRIP? and in this sorry case the answer was an emphatic YES!!
The set is in excellent condition with all of the original weights and is a fine example of a later version of the set made famous by the Moscow International Tournament of 1935, when Botvinnik and Flohr shared the purse for 1st place while the great Emanuel Lasker and the Cuban legend, Capablanca, placed 3rd and 4th respectively. And due to its popularity in tournament play several variations of this iconic Soviet design were widely used throughout the old USSR from mid-1930’s well into the 1960’s.
The stripping process is pretty straight forward; you just need plenty of kitchen towel, some old brushes, a few steel wool brushes and copious amounts of patience and sandpaper and just go for it!

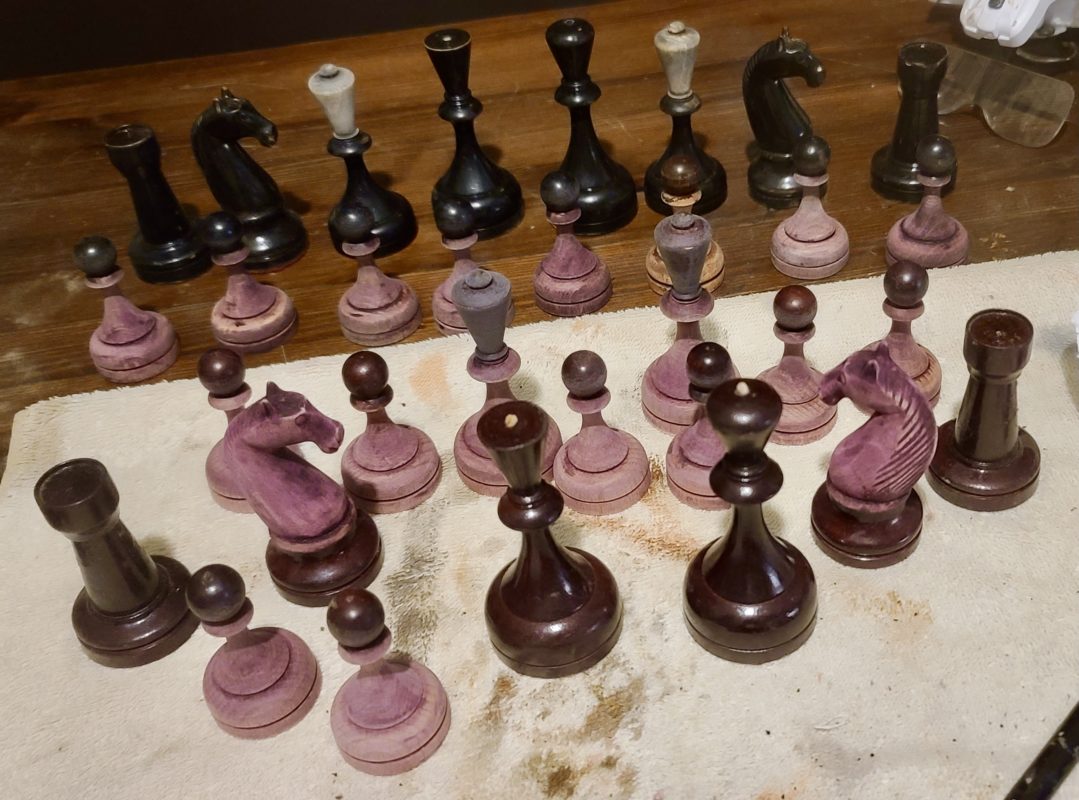
PIC 1: Here you see the stripping process is just underway and also just how close the two opposing colours are. The old pads have already been removed and after stripping eight pawns the varnish remover (pictured clear in the top right corner) has already turned a deep pink – it’s best to use only a little of the stripper at a time and renew regularly.
In this case, the purple stain has come off quite easily, leading me to believe this may have been a poor attempt at a restoration during its previous life.
PIC 2: My mode of operation, top or bottom, bottom or top; it’s far easier to take things in stages – and a lot less mucky! Note we have a wee straggler in our midst as we’ve discovered that one of the dark side pawns is of the same design but turned from a different, less absorbing type of wood. This is quite common with the black pieces as it’s easy to hide a replacement pawn/piece under several layers of black gloss paint.
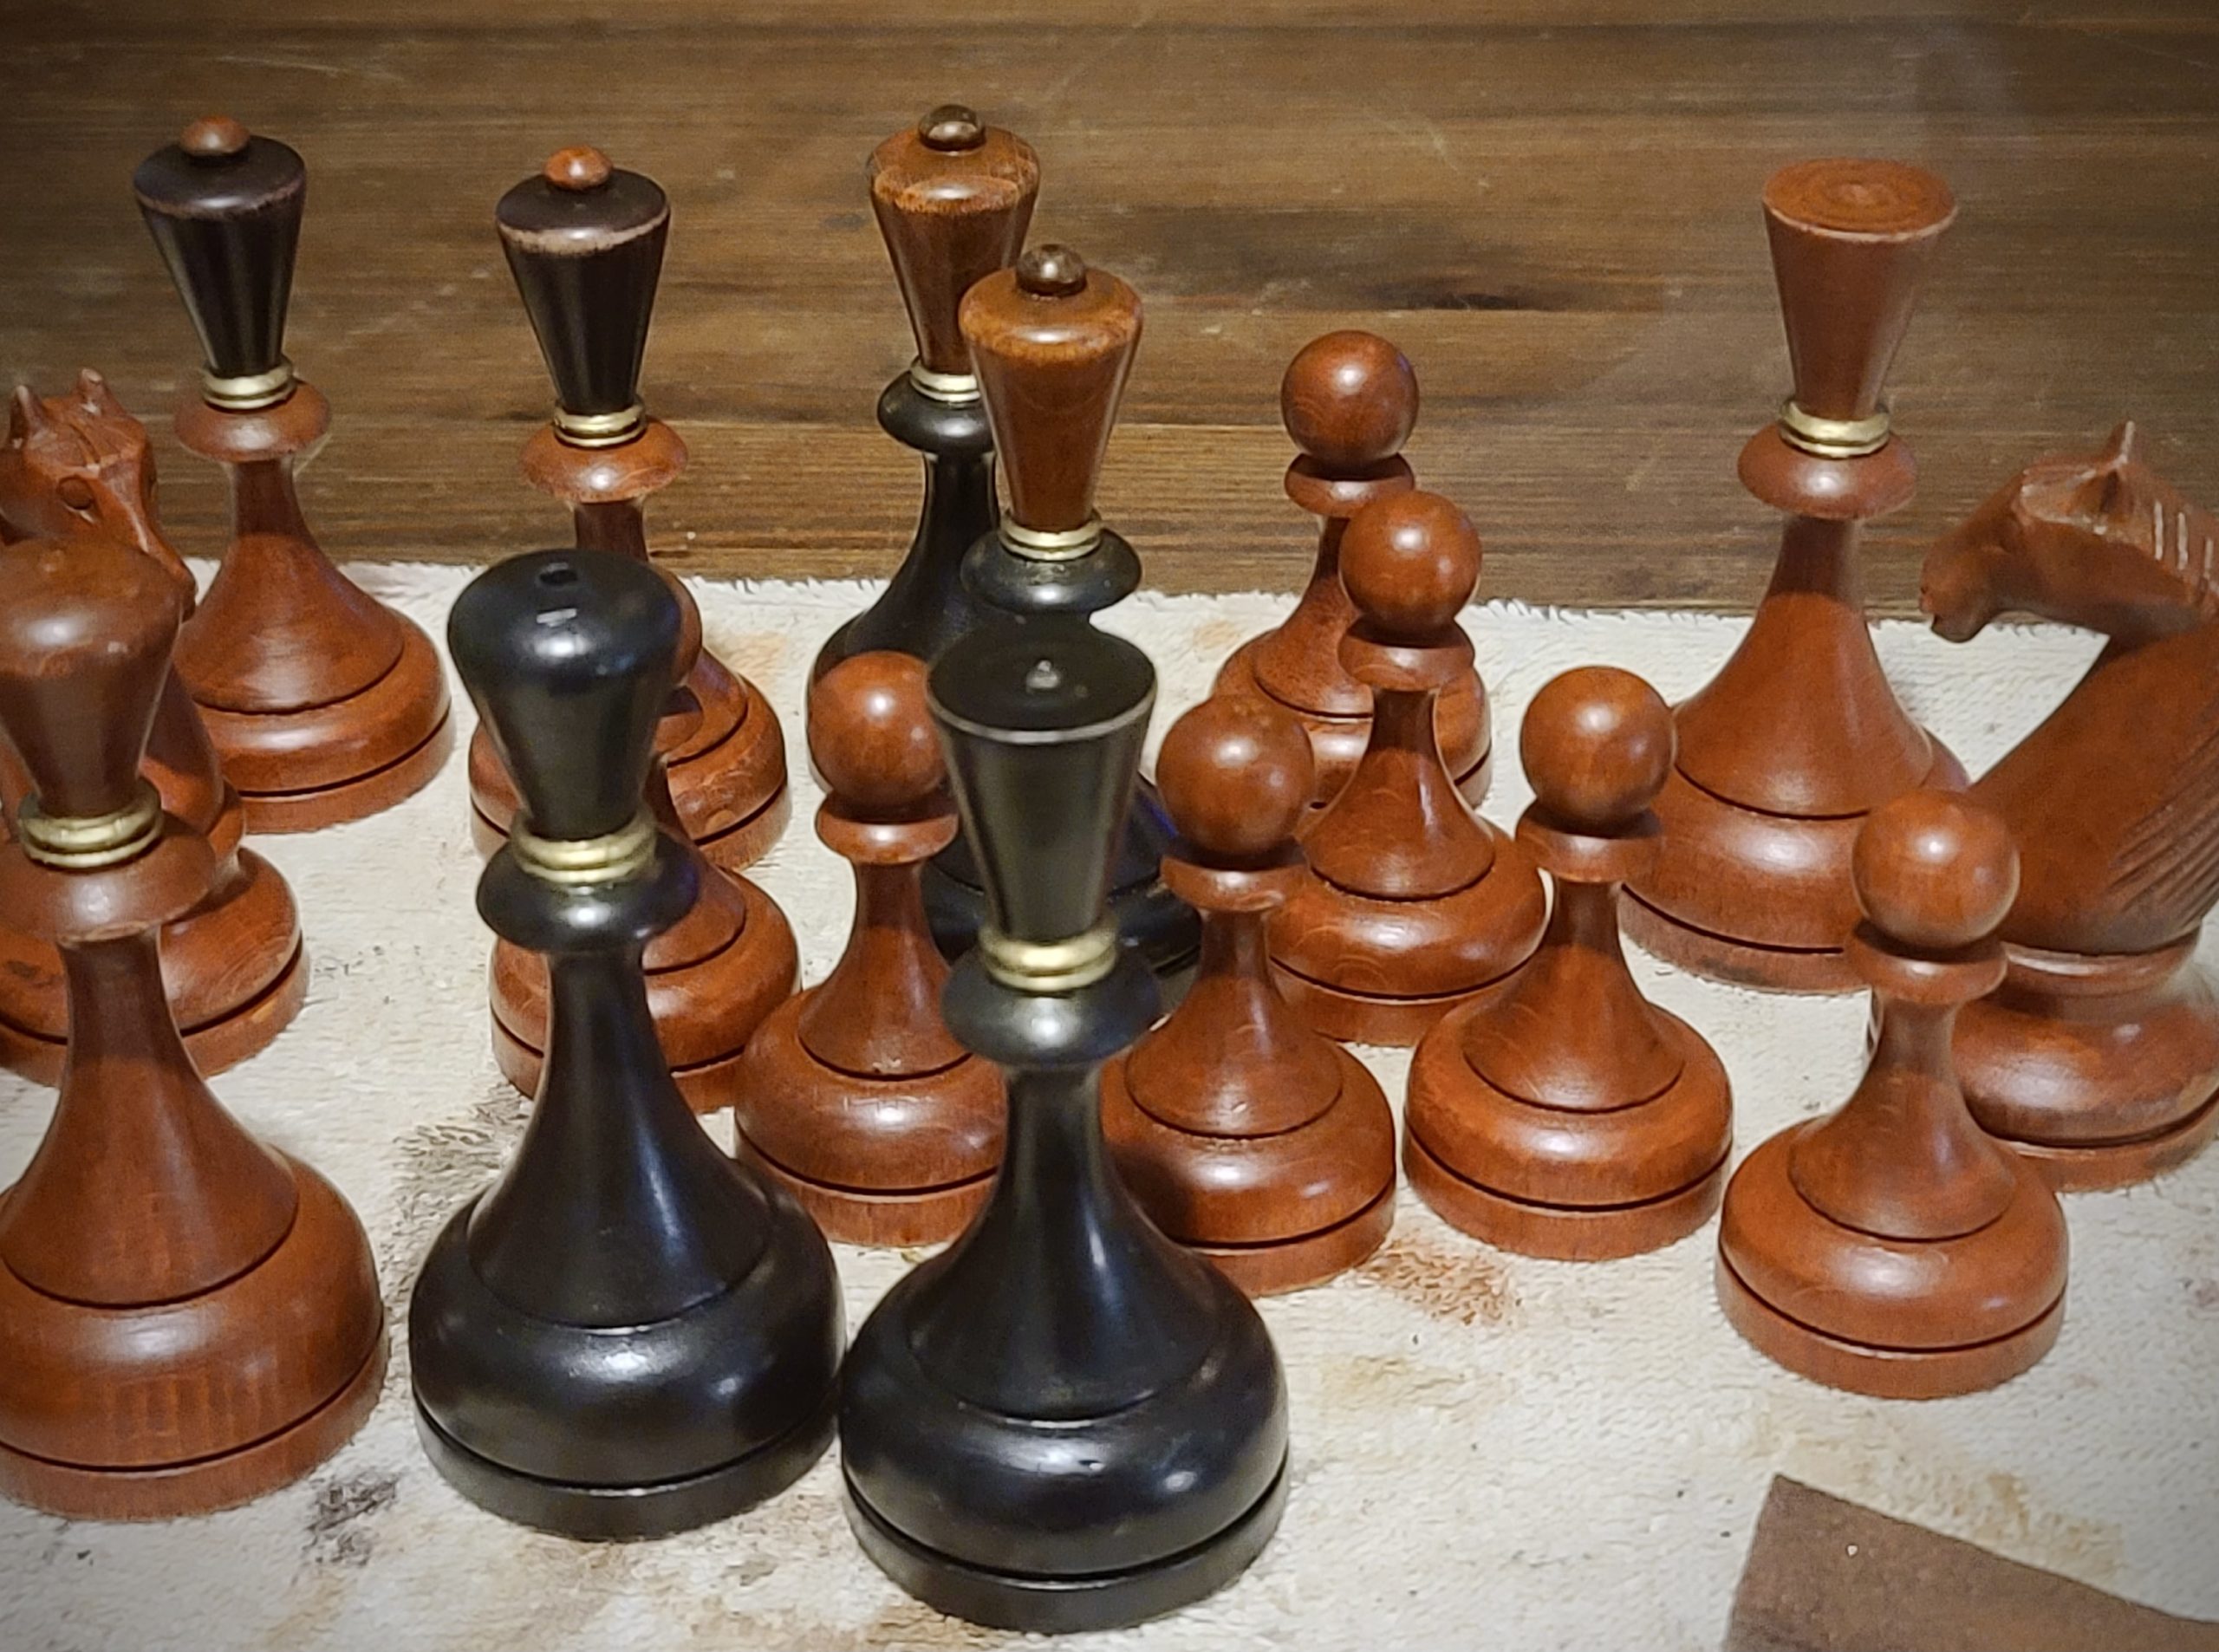
PIC 3 & 4: The light side has been stripped and sanded to a satisfactory point. My aim is for a rich, chestnut red finish therefore I’m staining the pieces using a combination of wood conditioner and glazing medium (for transparency) tinted with Odysseus Cornwall’s (“Odie’s” for short) red pigment powder – the raw pigment provides the richness in-depth once the finish coats are applied. And as you may have noticed, plans are already afoot for the bishops…


5&6: Just ambling my way down the line. The signum of the bishop has been sanded rather than stripped. In a fast game of chess the bishops of these B-F sets can easily be confused with the queen – but not with this set!


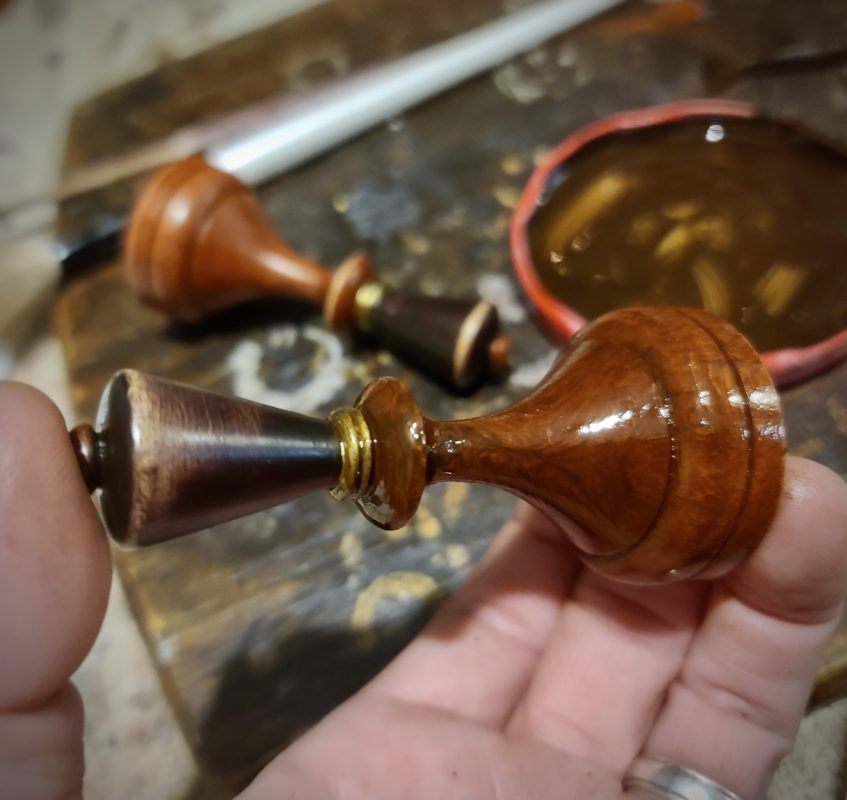
7, 8 & 9: The first pass went well, but I’m after a deeper, richer red base, so I’ll do a second pass and add a slightly darker russet powder to the mix. A little blurry, but the subtle difference can be seen in pic 9.


10: Progress! In the end, three passes achieved the base colour I was after which has been given the first of several thin coats of diluted amber shellac (with meths), which brings everything together for the light side. A deep brown stain has been applied to the dark pawns (I left one so you could see the difference after two coats). The same colour stain has also been applied to the signum of the light bishops which once dry will be sanded back. I’m fond of colours that change in different lighting conditions: in daylight the dark pieces will appear a very deep, rich brown but at night should appear as black as the night itself.

11&12: Applying the dark stain to the black pieces and here I was thinking that it was a tad too chocolaty for my liking, so for the third pass I introduced a pinch of Odie’s ebony pigment powder. In pic back row have arrived at the colour I’m after – a very deep brown. The domes of the dark pawns are also done while their nether regions need the third pass. The light side have been lightly sanded back and await another coat of diluted shellac, which dries extremely quickly allowing multiple coats to be applied over a few hours building a high depth of colour.


13: Getting there! My two main objectives have been achieved; making a totally unplayable set playable again and to make the opposing bishops easily distinguishable in complex middle games and fast play. There is still much to do, however…
14: As you may have noticed, a deft decorative touch has been added to the two small rings above the collars of the royals and bishop, which have been brushed with a coat of iridescent bronze – now the set is taking on a unique character of its own and is really starting to take shape.
15: Now the whole set will receive a coat or two of Danish antiquing oil a jolly good buffing and HUZZAH! – we have one more set that gets another stab at life!
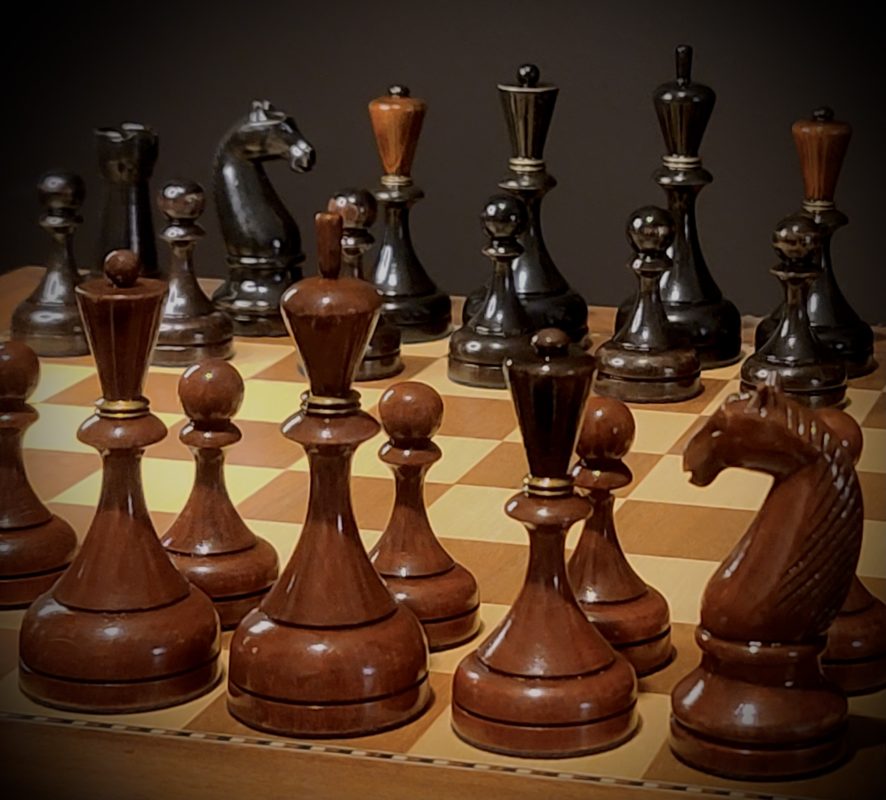
The final photo shoot will be listed in our Gallery within the next few days … keep your eyes on this space!
All rights reserved: Alan W. Power (The Chess Schach), Jan/2021